
Introduction
Printing custom stickers at home is a delightful and rewarding craft project that allows you to unleash your creativity. Whether you want to design personalized stickers for your journal, scrapbook, gifts, or just for fun, the process is surprisingly easy and enjoyable. In this step-by-step guide, we’ll walk you through the process of printing an A4 sheet of stickers at home, so you can express yourself and add a personal touch to your belongings.
Materials You’ll Need
Before diving into the exciting world of sticker-making, gather the following materials:
- A4 Sticker Paper: Look for sticker paper specifically designed for home printers. You can find various finishes such as glossy, matte, or transparent, depending on your preference.
- Printer: Ensure you have an inkjet or laser printer that can accommodate A4-sized sticker paper.
- Computer: You’ll need a computer or laptop to create and print your sticker designs.
- Design Software: Choose a graphic design software that suits your expertise level. Adobe Illustrator or Photoshop are excellent options, but you can also use free alternatives like GIMP or Canva.
- Scissors or Cutting Tool: Prepare a pair of scissors or a cutting tool to neatly cut out your stickers.
Step 1: Design Your Stickers
The first step to printing custom stickers is creating the designs. Open your preferred design software and start a new A4-sized canvas (210 x 297 mm or 8.27 x 11.69 inches). This canvas size corresponds to your sticker paper dimensions.
Now, let your imagination run wild! Design your stickers using various elements like images, text, shapes, and colors. Don’t forget to leave some space between each sticker for later cutting. You can create themed sticker sheets or a mix of different designs. The possibilities are limitless!
Step 2: Test Print
Before you print the entire sheet of stickers, it’s wise to do a test print on a regular piece of paper. This allows you to check the size, colors, and layout of your designs without wasting sticker paper. Make any necessary adjustments to your design based on the test print.
Step 3: Load the Sticker Paper
With your designs perfected, load the A4 sticker paper into the printer’s paper tray. Make sure to adjust the paper guide to fit the size of the sticker paper. Proper alignment prevents any printing mishaps.
Step 4: Print Your Stickers
Now comes the exciting moment – printing your stickers! Send the A4 sticker sheet to your printer, ensuring that the settings match the type of sticker paper you’re using. Set the print quality to achieve the desired results.
Step 5: Allow the Ink to Dry
Once the printing is complete, let the ink dry for a few minutes before handling the stickers. This prevents smudging and ensures your designs stay pristine.
Step 6: Cut Out the Stickers
With the printed sheet in hand, it’s time to bring your stickers to life! Carefully cut out each sticker using scissors or a cutting tool. Follow the edges of the designs closely for clean and professional-looking cuts. Take your time and enjoy the process!
Step 7: Peel and Stick
Congratulations, you now have a collection of custom stickers ready to use! Peel off the backing of each sticker to reveal the adhesive, and start sticking them onto your desired surfaces. Decorate your journal, personalize your laptop, or surprise someone with a thoughtfully crafted sticker gift.
Step 8: Store the Remaining Stickers
If you have leftover stickers, store them in a resealable plastic bag or container. Find a cool, dry place to preserve the quality of the stickers’ adhesive and ensure they remain in perfect condition for future use.
Printing an A4 sheet of stickers at home is an excellent way to explore your creativity and add a personal touch to everyday items. With just a few materials and a bit of imagination, you can design and print custom stickers for various purposes. So, dive into the world of sticker-making, and enjoy the endless possibilities of expressing yourself through this fun and rewarding craft!
Inspire your Sticker Designs

- Nature’s Wonders: Design stickers featuring breathtaking scenes from nature – think majestic mountains, serene lakes, lush forests, and starlit skies. Let the beauty of the great outdoors inspire your creations.
- Quirky Animals: Imagine a world where animals wear hats, glasses, and scarves! Illustrate a set of stickers showcasing adorable and quirky animals dressed in fun accessories.
- Cosmic Adventure: Embark on a cosmic journey and create stickers that explore the wonders of the universe. Think planets, galaxies, rockets, astronauts, and cute aliens in their extraterrestrial habitat.
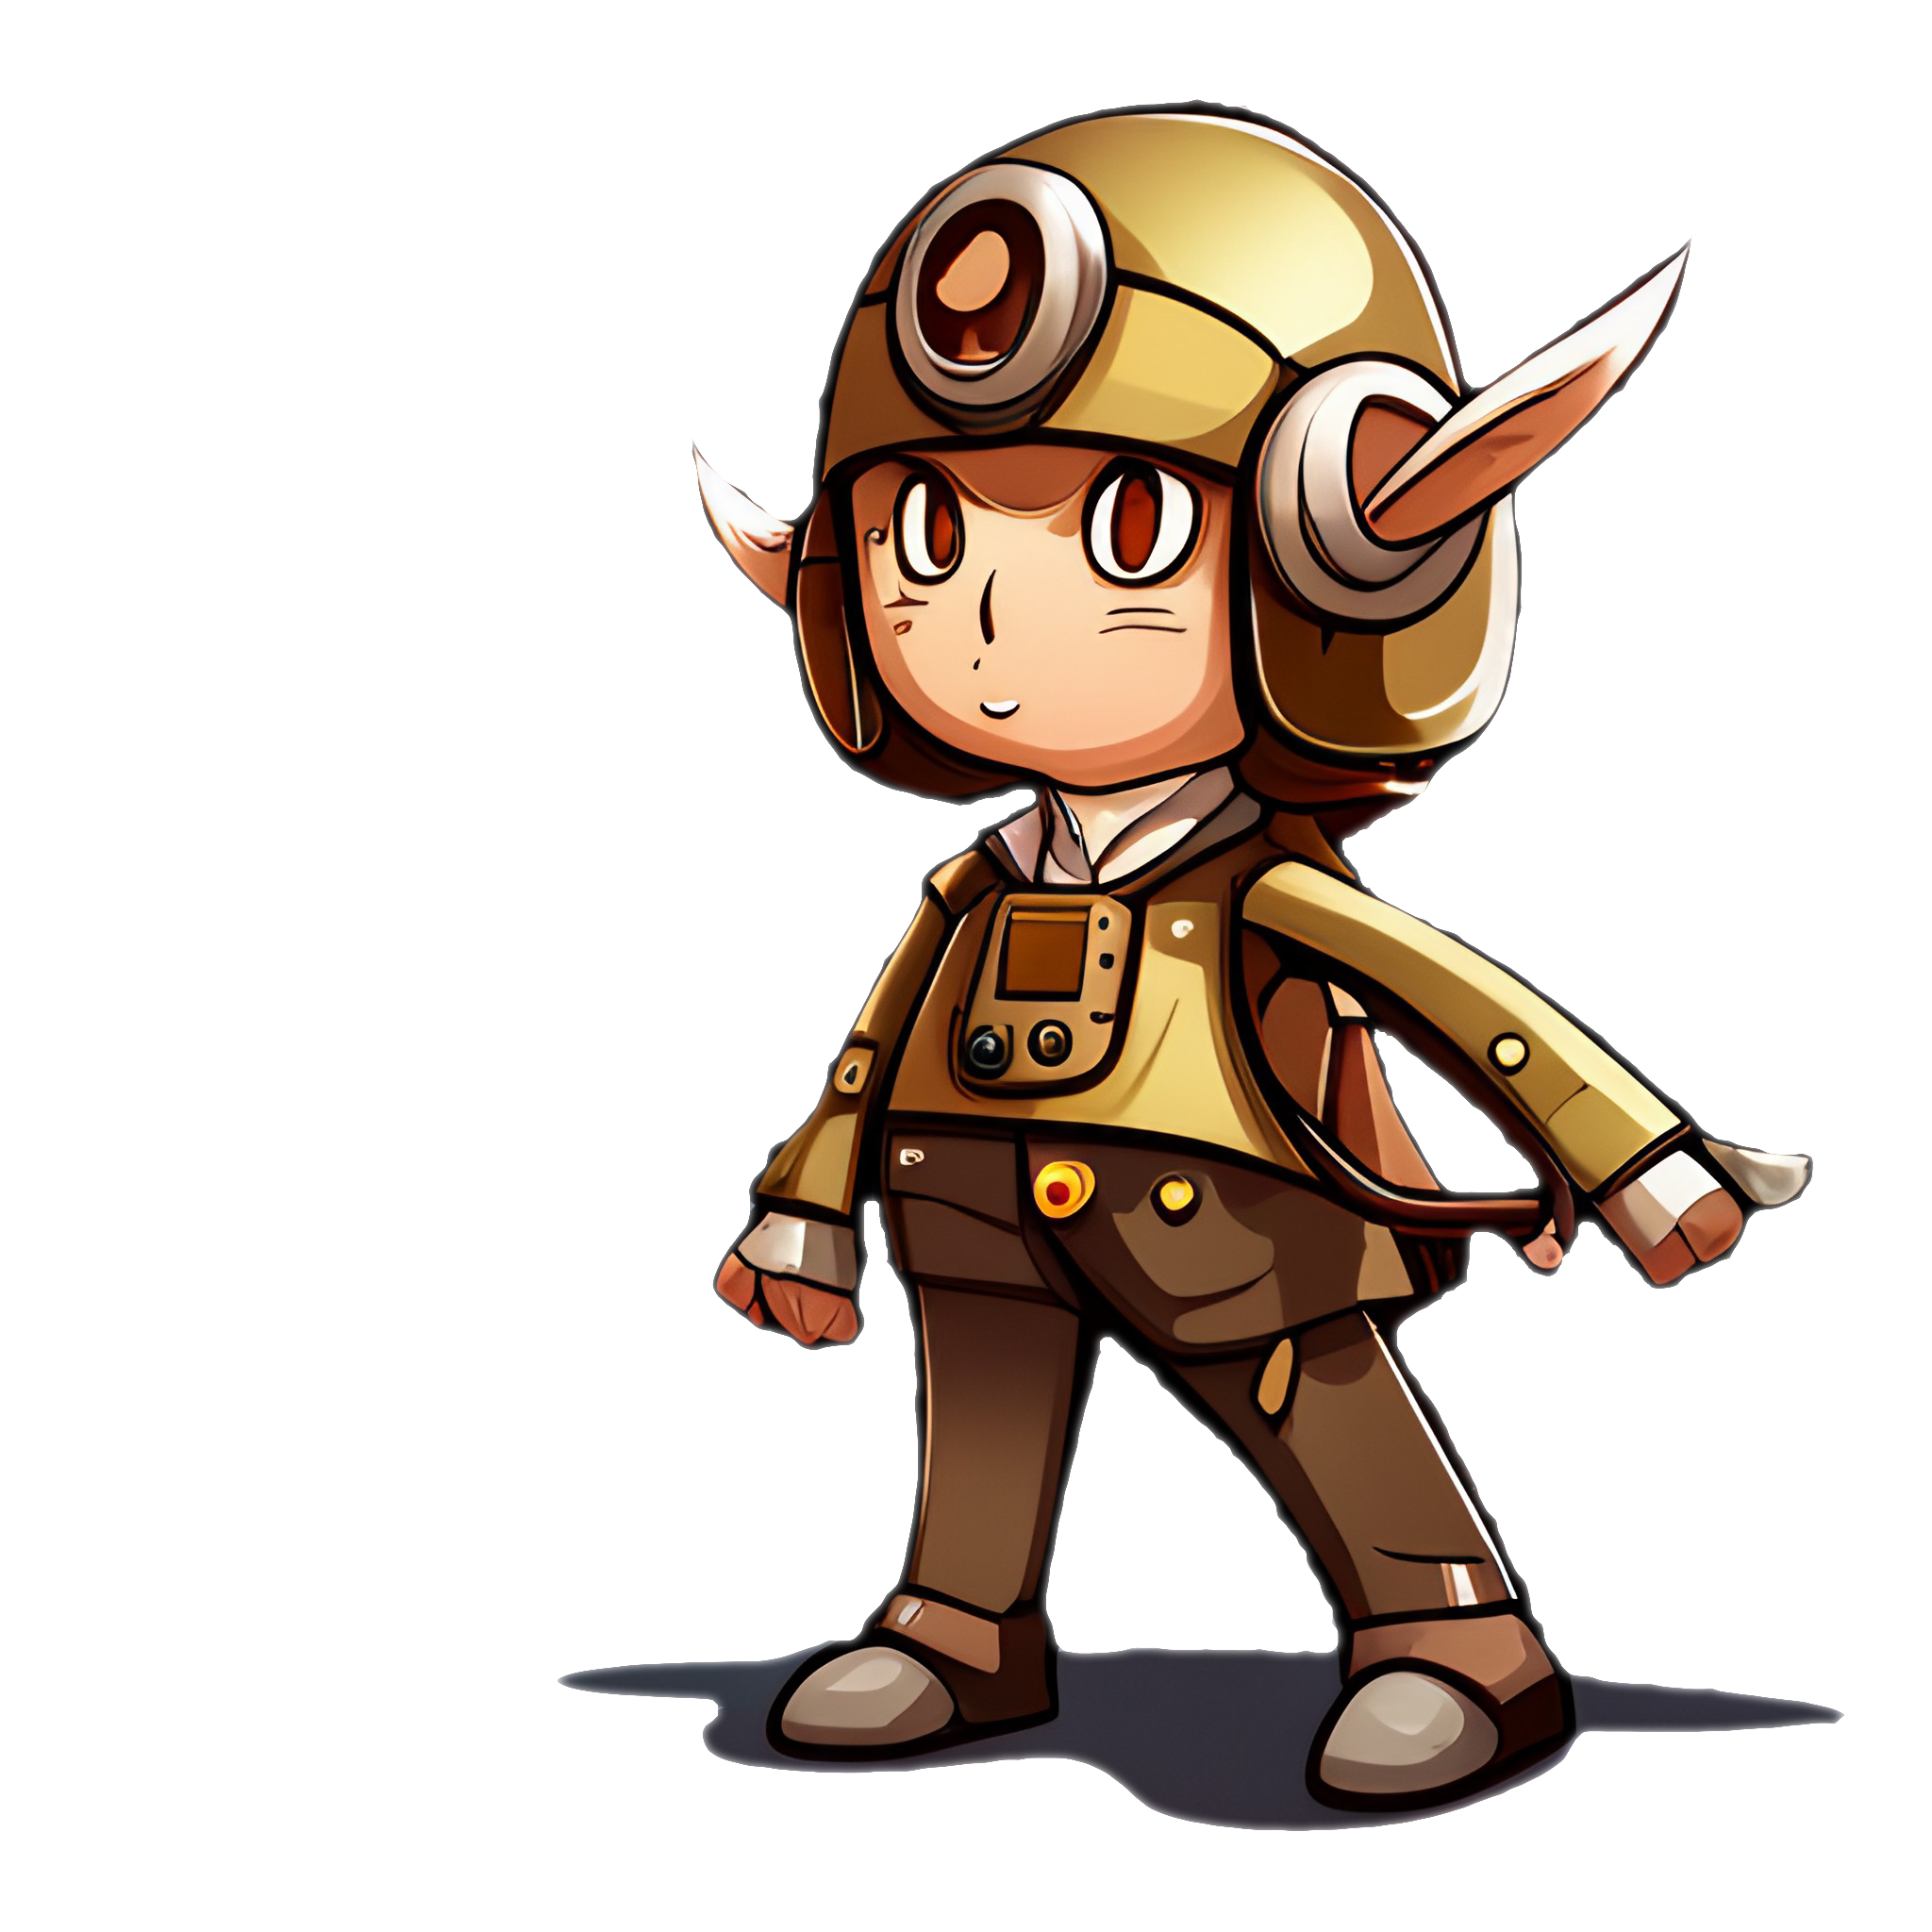
- Magical Creatures: Unleash your imagination and design stickers with mythical and magical creatures like unicorns, dragons, fairies, and phoenixes. Add a touch of enchantment to your sticker sheet.
- Foodie Fun: Celebrate your favorite treats and cuisines with food-themed stickers. Design mouthwatering stickers of pizzas, ice creams, sushi, cupcakes, and more.
- Mood Emoticons: Express a range of emotions through a set of emoticon stickers. From laughter and joy to surprise and sadness, let your stickers convey the feelings we all experience.
- Travel Destinations: Take your audience on a journey around the world with travel-themed stickers. Create iconic landmarks, maps, suitcases, and modes of transportation.
- Garden Party: Design a sticker sheet filled with colorful flowers, cute garden critters, and everything you’d find in a whimsical garden party.
- Fantasy Adventure: Craft a series of stickers based on a fantasy adventure story. Include characters, magical artifacts, and settings that spark the imagination.
- Timeless Quotes: Inspire and motivate with a collection of stickers featuring powerful quotes. Pair the text with complementary designs to enhance the impact.
- Artistic Masterpieces: Replicate famous works of art or create your own artistic interpretations. Turn classic paintings into adorable stickers with a modern twist.
- Superhero Squad: Assemble a team of superheroes, each with unique powers and costumes, to protect your sticker world from villains.
- Seasonal Delights: Design stickers that capture the essence of each season – blooming flowers in spring, sun-soaked beaches in summer, falling leaves in autumn, and snow-capped mountains in winter.
- Space Cats: Put a humorous twist on space exploration by featuring cats as astronauts and cosmic adventurers.
- Fairy Tale Classics: Reimagine beloved fairy tales with your unique sticker designs. Create scenes from “Cinderella,” “Little Red Riding Hood,” “Peter Pan,” and more.
